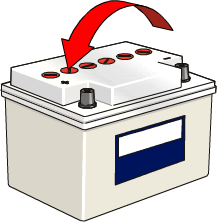
The following tutorial details the steps to make the arrow in the illustration below. The battery comes from a CorelDRAW® clip art collection. The idea of the illustration is to show that electricity flows from negative to positive. There are probably a lot of ways to make the arrow, but it is best to use a combination of primitive shapes for a good result. In this example I used FreeHand 9, but it can also be done with an earlier version. Like the FreeHand Drawing Technique No. 1, this technique is equally typical for creating complex shapes from primitives.
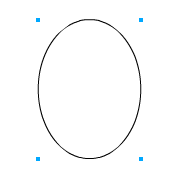
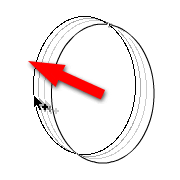
1. In this case use the Ellipse tool and drag out an ellipse (below left). Click the ellipse with the Pointer tool and while holding the Opt (Mac®) / Alt (Win) key drag a copy away from it (below right).
 |  |
2. Use either the Pen or the Bezigon tool and draw a triangle like the example below. Make sure it is a closed path (more on closed paths here).
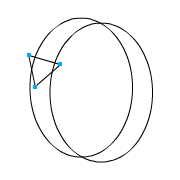 | The next shape has to be tangent to the two ellipses. There is no tangent constraint in FreeHand which would guarantee that a line you draw will snap to the edge of the ellipse, but you can work around this by temporarily converting the ellipses into guides and enabling "Snap To Guides". |
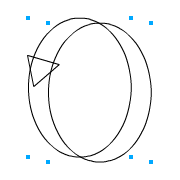
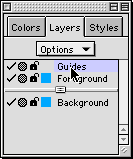
3. Click View > Snap To Guides, then select both ellipses (below left) and click the Guides layer in the Layers panel (below right).
 |  |
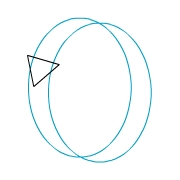
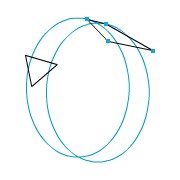
4. The ellipses will be a light blue color indicating that they are now guide objects (below left). Use either the Pen or the Bezigon tool and draw a shape similar to the one shown below right. Like the triangle, this object must be a closed path, too.
 |  |
5. Zoom in close and put the drawing into Keyline mode. Select each of the two points shown below and snap them to the ellipse guides. Although the tangents are just a guess, at least when the objects are combined, they will join exactly on the ellipses
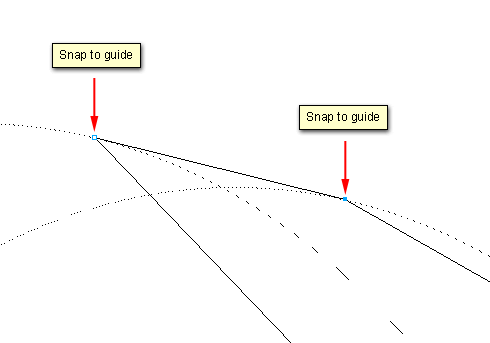
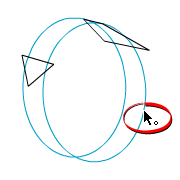
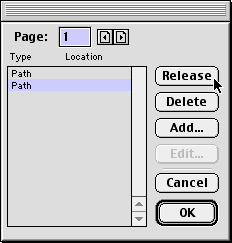
6. Use the Pointer tool and double-click one of the ellipse guides. You will see a mouse pointer with a small circle to the right when you are over the guide (circled below left). In the dialog, the path will be highlighted (below right). Click the "Release" button to revert the guide to a regular object. Highlight the other path and release it as well. Click "OK" when done.
 |  |
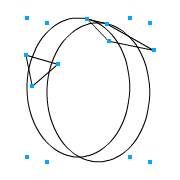
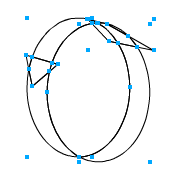
7. Click Edit > Select > All (below left), then Modify > Combine > Divide (below right). This breaks the shapes up into separate closed objects. This only works on closed paths in FreeHand, so that's why all the objects were closed paths.
 |  |
FreeHand® Drawing Technique No. 2
Part B
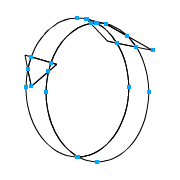
8. When you use the divide path operation, sometimes it will create composite objects. Click Modify > Split to break the composites because we want to select each object individually. Your example should then look something like the one below.
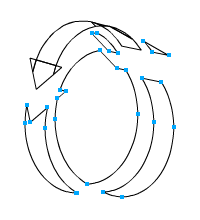
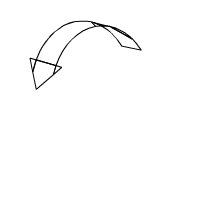
9. Select the objects shown below left and click Edit > Clear or press either the Delete or Backspace key. The remaining objects are shown below right.
 |  |
10. All that remains is to recombine the remaining objects into closed paths with different color fills. Start by selecting the objects shown below left. Next click Modify > Combine > Union. The result should be similar to the example below right.
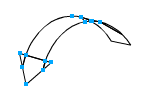 | 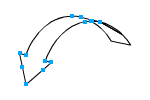 |
11. There are a couple of extra points you can get rid of. These are shown selected below left. When a point is selected it appears as a hollow square. Press the Backspace or Delete key to ditch the points. The result should look like the example below right. There are more extra points on these paths, but there is no sure fire way to delete them without altering the shapes of the paths. Just leave them.
 | 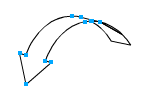 |
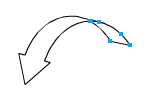
12. Select the remaining objects as shown below left and click Modify > Combine > Union. The result should be similar to the example below right. The path operations are now complete.
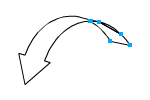 |  |
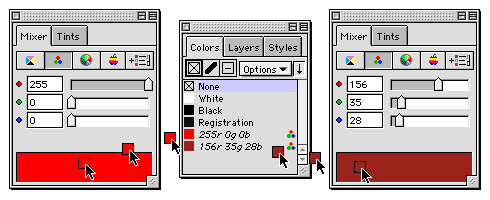
13. Next bring up the color mixer and select the RGB color model (its button is shown depressed below left). Create one color using 255, 0, 0 for the RGB values, respectively. Then drag a color chip from the mixer into the Color List (below middle). Similarly make a second color using 156, 35, 28 for the RGB values, respectively. Drag another color chip into the Color List for this color as well.
14. Drag the red color from the Color List into the fill of the left object (below left). Next drag the reddish brown color from the Color List into the fill of the right object (below right).
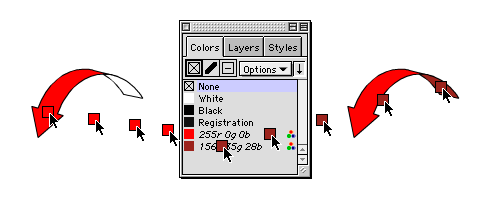
15. The finished result is shown below. This is just one of many techniques (or strategies) you can use to create drawings with FreeHand.

Source: http://www.sketchpad.net/


